Monday, August 1, 2011

Farm Birthday Party

Phew!  July was a blur.  Birthdays, weddings, life in general.......it was busy, busy.  Earlier in the month my son celebrated his second birthday {sniff, sniff - he's growing up so fast}.  The party was a farm theme complete with pony rides & a small petting zoo.  The kids LOVED all the animals - the baby pigs were a huge hit!  I loved getting crafty and seeing all my hard work come together just as I had envisioned it - seeing all the happy, smiling kids (especially how happy my son was) was a great bonus!  Here are some pictures of my little man's big day:

I love balloon wreaths! I made one for his first birthday and it turned
out so adorable, I knew I'd be making more.  All you need is a straw wreath form
(still wrapped in plastic), a few large packs of the balloons of your choice
and floral pins. Just stick the balloons to the wreath with your pins and TA-DA!


The gift bags I found online at Oriental Trading.
I stuffed them with farm themed books, puzzles, stickers, pencils, erasers
and activity pads.  All items were purchased at the dollar section of Target, the Dollar Store
or Oriental Trading.


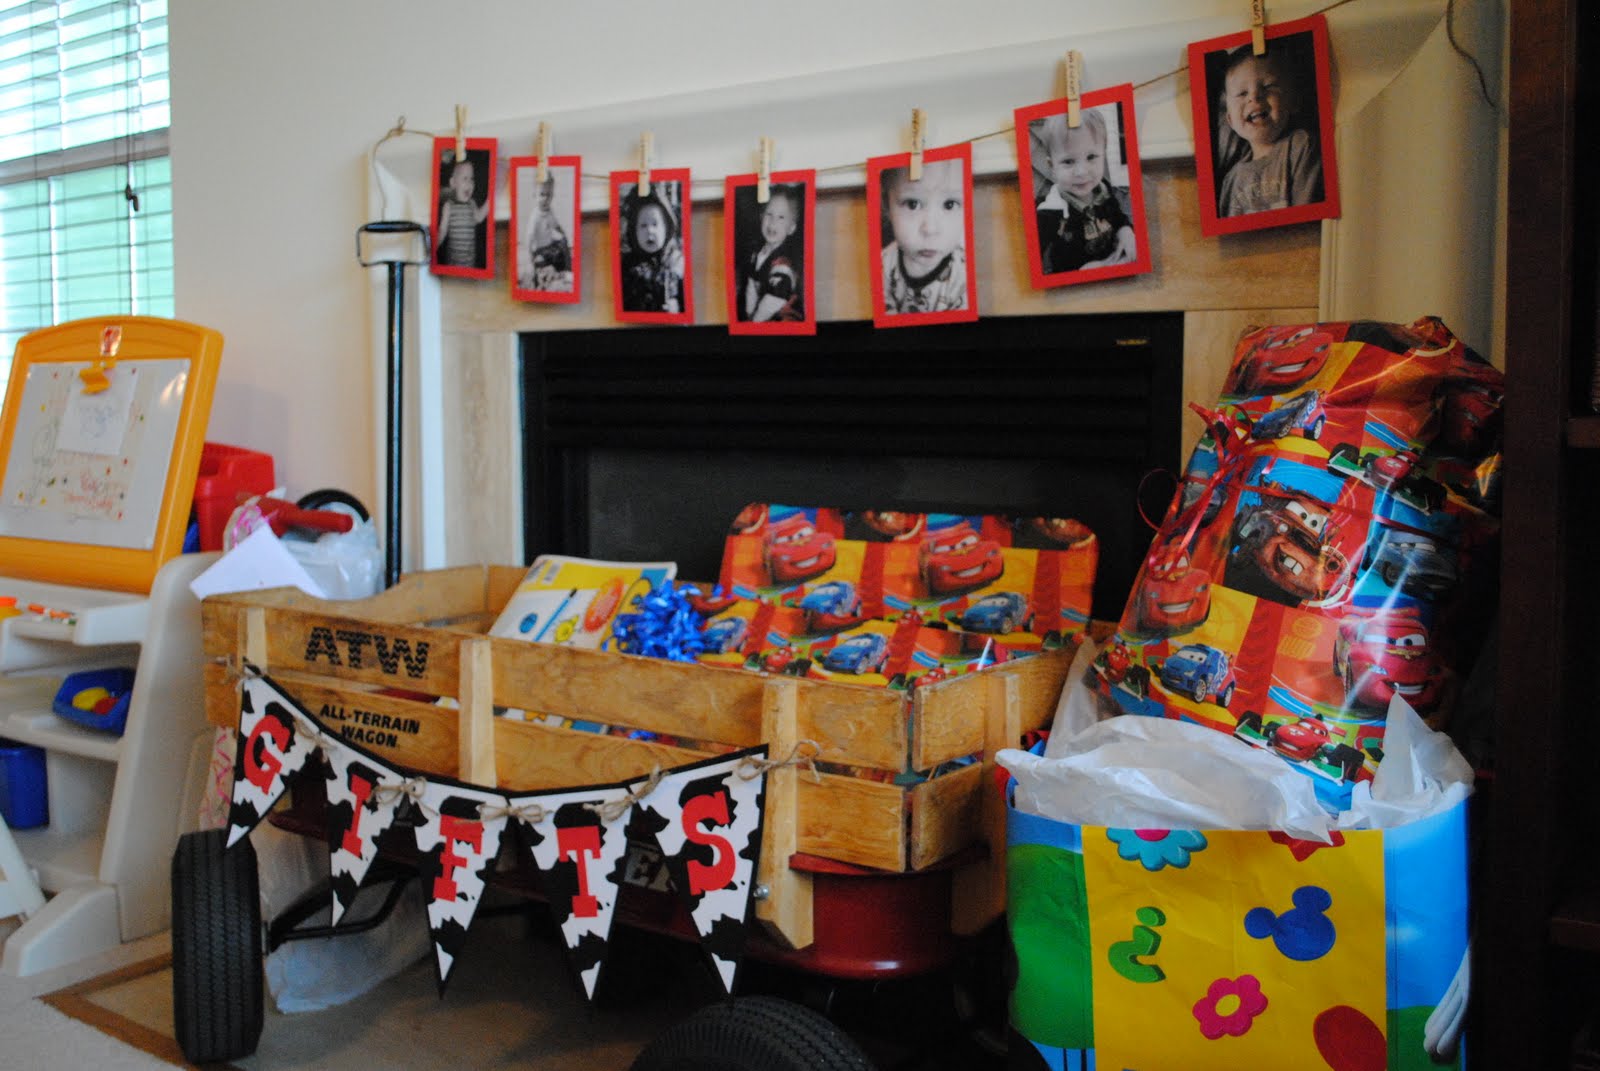
I wrote how old he was in each picture on the clothes pin.
The pictures were of him every other month since his
first birthday (12 mo, 14 mo, 16mo, etc..)


In addition to the cupcake tower, we had Twizzlers, Cow Tales, Skittles,
Kit Kats, Cow Pies & Haystacks


It's not pictured here but my husband was up until 1am smoking
a delicious pork butt for our BBQ feast - it was SOOOOO good!
The rest of the menu included watermelon, macaroni salad,
chips, popcorn chicken & pigs in a blanket.

I found these beautiful sunflowers the day before the party
at my local grocery store on manager's special for a fraction
of their original price - score!!

You can't really tell from this picuture, but the utensils were wrapped in paper
bandana print napkins and I tied a piece of jute twine around the
bundle to secure it all in place.

Our adorable next door neighbor, Lizzie, with an adorable
miniture cow!


The birthday boy!!

I wanted to keep these pigs!
All of the signs pictured (wreath sign, banners, thank you sign, food sign, etc.), I created with my Silhouette.  I can't tell you how much easier that made my life.  If you don't have one, you really need to ask Santa for one this Christmas (btw, I do not get paid any money whatsoever from Silhouette.....I just love their machine to the moon and think every crafter should have one)!

In addition to the animals & food, we did play a few games.  Pin the Tail on the Piggy, a Cow Pie toss (brown bean bags I made from felt), and an egg hunt.  The plastic eggs were borrowed from neighbors and inside each one I put a yellow pom-pom to represent the yolk.  However, one contained birthday confetti and whomever got that one was the winner.  This allowed it to be fair and fun even for the littlest of participants.  Game prizes included egg shaped sidewalk chalk that I got on clearance after Easter, a punch balloon that was in the shape of a bull when blown up and a wooden farm set that you could paint.

I'm not gonna lie, it was a lot of hard work. But I started my planning EARLY and was always on the lookout for things that I could get on sale or super cheap that went with my theme.  By starting early I was able to work on it piece by piece, a little at a time which helped me not to get overwhelmed.

I had a blast planning and creating this party for him and his friends and in turn, they all had a wonderful time.  Win, Win!! 

Now, what to do for next year........ {wink, wink}

Wednesday, June 29, 2011

Birthday Bucket

My son will be turning 2 next week (WHAAA?!?!?!?  When did that happen?). I've been busy, busy trying to get everything ready for the big day (I'll post pics of the party here so you can see what all that I've done!), which is one of the reasons I've been MIA here lately.

One thing that we do to get ready for the celebration is to bring out the birthday bucket. 


I purchase seven small, inexpensive gifts, wrap them and put them into the birthday bucket. Starting one week before his birthday, he gets to choose one gift from the bucket to open. He gets to open one gift per day leading up to this birthday, thus creating a little birthday countdown.

Last year I just purchased a bucket from the Dollar Tree and called it a day. This year I decided to jazz it up a bit. I downloaded the balloon banner from the Silhouette store and used Brady Bunch Remastered font to create my design. I cut it out on white vinyl and applied it to my bucket. 


A couple of curly ribbons and big polka-dot bows later, I've got this:


Pretty darlin' if I do say so myself!

Wednesday, June 8, 2011

Summer To-Do List

Thanks to some inspiration from the infinitely talented girls over at eighteen 25, I decided to create my very own Summer To-Do List.


The supplies you'll need:

  • 12" x 36" poster frame
  • paper (I used 3 sheets of 12" x 12" scrapbook paper and 5 coordinating pieces of 8.5" x 11" cardstock)
  • tape
  • gluestick
  • craft sticks
  • exacto knife
  • dry erase marker
I used my Silhouette to cut out the words (pharmacy font) and ice cream shapes and used the glue stick to adhere them to the scrapbook paper.


I then cut down to craft sticks using the exacto knife so that they would fit my design and glued those down as well.


I taped the scrapbook paper together so it was all one long sheet and put it into my frame.  Using the dry erase marker, I jotted down all the activities I'd like for us to do this summer.


Quite an impressive list!  It looks like a lot, but the majority of the activities are small things we always do in the summer (eat watermelon, go to the beach, go to the pool, etc....), so it'll be easy to mark them off.  What a fun way to spend the summer!  It'll be nice to look back at the list once summer is over and see how much we were able to do during the next few months.

Tuesday, May 24, 2011

Tastebud Tuesday: Strawberry Fudge Pie

It's strawberry season here in Southeast Virginia! 

We are fortunate enough to have several strawberry fields near our house where we can go and pick to our hearts content.  There was a beautiful day a few weeks ago and my son and I took advantage of the sunshine and warm weather and went to pick some berries.  It was the first time for both of us and we really enjoyed ourselves and I hope to make it back again soon.


We enjoyed the berries as snacks for several days, but then I needed to use the rest up before they went bad.  That's when I stumbled across this recipe on Betty Crocker's website. One word: HEAVEN!


This pie is rich and decadent and oh so bad for your hips, but worth every single bite!  There is a layer of pie crust followed by fudge brownie then cheesecake and finally strawberries drizzled with hot fudge sauce.  YUM!

Tuesday, May 17, 2011

Tastebud Tuesday: Slow Cooker Carolina Pork BBQ

Hello there! Remember me?  Phew, I don't remember giving life permission to be so busy.  My apologies for my lack of posts.  It has been one crazy spring.  I don't know about you but when things get hectic, I always turn to my slow cooker to make sure that we are still able to eat a home cooked meal.  I think it is a must have in everyone's kitchen essentials.  Throw in your ingredients in the morning, turn it on and forget about it until you're ready to eat.  Who doesn't love that?!?!

One of my favorite things to prepare in the slow cooker is my mother-in-law's Pork BBQ.  So easy, so delicious!  Please note that this is a Carolina style BBQ so it is vinegar based.  Here's what you'll need:


  • Pork shoulder or pork butt
  • 2 cups Apple Cider Vinegar
  • 2 oz. Liquid Smoke
  • 2 T sugar
  • 2 T crushed red pepper
  • 2 t salt

*Can I just say how much I LOVE Reynolds Slow Cook bags?!  They make clean-up a breeze (which is something my husband appreciates since he has dish duty)!*

Put meat into slow cooker. Pour vinegar and liquid smoke over the pork.  Sprinkle with sugar, salt and crushed red pepper.  Cook on low for 6-7 hours. WARNING: Your house will smell AMAZING and your mouth will be begin to water!

Remove the pork from the slow cooker and shred.  I add a little of the liquid from the slow cooker to the meat once it's been shredded. 

It is soooo tender that the meat literally falls off the bone!


I served mine as is with macaroni and cheese and baked beans.  You can also serve it on a bun for Pork BBQ sandwiches with hot sauce or your favorite BBQ sauce. 

Yum, yum!!!

Monday, April 18, 2011

Happy Easter!

I created a little Easter display right as you walk in my front door.  It's bright and cheery and a wonderful thing to see when you first walk into the house.


I saw the idea for the bunny and chick silhouettes over at K.I.S.S. and knew that I had to duplicate them!  I actually used my Silhouette to cut out the bunny and chick, but K.I.S.S. gives you links to a couple of Martha Stewart patterns that you can simply cut out by hand. 


The birdhouses I found in the dollar section of Target (the wreath and runner are from Target as well - just not the dollar section - bummer).  I cut two of them down to varying heights so it wouldn't look so uniform and stuck them all in a couple of clay pots that I painted white.  I added some Easter basket grass to the pots to hide the styrofoam ball that supports each birdhouse. 


The Happy Easter sign was made with an old frame that I spray painted white, some colorful wrapping paper for the background and of course, my Silhouette for "Happy Easter."


Very Happy indeed!!!

Monday, April 11, 2011

Spring Display

Finally, I can show you all the pieces of my spring display.  It's nothing spectacular, but I just love it!!!


The larger picture frame was one that I already had and the smaller one I found in the dollar section at Michael's.  I spray painted both white to go with my theme.  The pedestal for the birds nest is a cake stand that I've turned upside down and the nest itself is reindeer moss that was leftover from a Halloween wreath project and some eggs that I found at Tuesday Morning.

It's clean and classic and simple and makes me smile!

Friday, April 1, 2011

Springtime Subway Art

Hello!  So sorry for my lack of posts.  I took a small vacation last week to go home and visit with family and it always takes a little while to get back into the swing of things!  I have posted several times about my spring display that I'm creating in my dinning room.  Here is another piece to the puzzle:

I created a Springtime Subway Art.  I used blue fonts and printed on white paper to go along with my blue and white theme.  You can get the printable here.

I hope to post pictures of the completed display soon and then start working on my Easter display on the table by my front door (plus a few other projects......the list just keeps getting longer!).

Have a happy Friday and wonderful weekend!

Wednesday, March 16, 2011

Spring Wreath

To go along with my Silhouette vinyl spring candles I made a spring wreath for my dinning room display.


I started by wrapping my wreath form with white yarn.  I was actually able to get the wreath form at Michaels for $1.50 since it was split.  Nothing a little duct tape couldn't fix!!!


Then I made some fabric flowers using an old white sweatshirt that I had worn at an 80's Halloween party a la Flashdance style, some beads from a necklace that was taking up space in my jewlery drawer and this pattern from wise craft


I am not known for my sewing ability, so the flowers had to be simple to make.  These were SUPER easy and turned out beautiful!


I hot glued them to my wreath and used my Silhouette to make the Spring banner.  I strung the banner using some twine and hung the entire wreath from my dinning room mirror using a piece of chocolate brown ribbon.


I couldn't be happier with how this turned out!


Join  us Saturdays at tatertotsandjello.com for the weekend wrap up
    party!

Photobucket

Tip Junkie handmade projects